Haircut Hero: Mastering the Art of Cutting Your Own Hair
Cutting your own hair might seem daunting, but with the right guidance and a little practice, you can achieve salon-worthy results at home. This comprehensive guide empowers you to take control of your hair care routine, saving time and money while learning a valuable skill. Here, we’ll explore essential tools, cutting techniques for different hair lengths and styles, and valuable tips for a successful DIY haircut.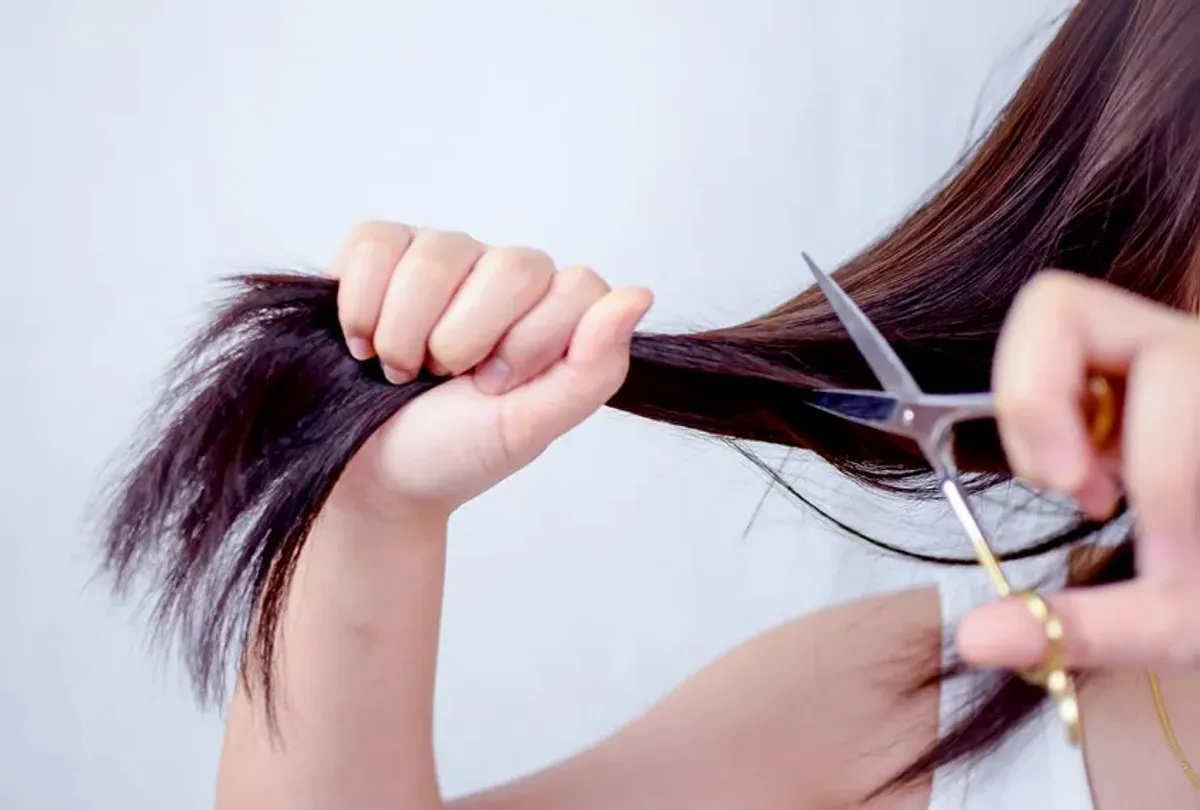
Gearing Up for Success: Essential Tools for DIY Haircuts
Equipping yourself with the right tools is the foundation for a successful DIY haircut. Here, we’ll delve deeper into each essential tool and explore some additional options to elevate your home hairstyling experience:
Sharp Scissors:
-
Invest in a high-quality pair of hairdressing scissors specifically designed for cutting hair. These scissors are typically made from stainless steel and have a sharper, finer blade compared to regular scissors. Blunt scissors can snag and damage hair, resulting in split ends and an uneven cut. Look for scissors with an offset handle, which provides a more comfortable cutting position for your hand and wrist.
Professional vs. Home Haircutting Scissors:
-
While professional-grade haircutting scissors can be a worthwhile investment for those who plan to cut hair regularly, there are high-quality options available for home use at a more accessible price point. Do your research and choose a brand known for sharp, durable haircutting shears.
Comb:
-
A fine-tooth comb is your best friend for sectioning hair precisely. Look for a comb with a comfortable grip and a long, thin tail for easy parting. Consider a comb with varying teeth widths – finer teeth for precise sectioning and wider teeth for detangling or smoothing hair.
Sectioning Clips:
-
Hair clips come in various sizes and styles. Invest in a set of clips that allows you to secure different hair sections effectively. Duckbill clips are popular for their versatility, while alligator clips are ideal for holding larger sections of hair.
Spray Bottle:
-
A reusable spray bottle filled with clean water allows you to dampen hair for easier cutting and control. Opt for a fine mist setting to avoid soaking the hair, which can make it heavy and difficult to manage.
Mirror, Mirror on the Wall:
-
A large mirror positioned at eye level allows you to see the back of your head for a complete view of your haircut. A handheld mirror can be a valuable tool for checking specific sections or angles, especially when cutting the back of your hair. Consider using two mirrors positioned at slightly different angles for optimal visibility.
Thinning Shears (Optional):
-
Thinning shears, also known as texturizing shears, have blades with small notches that remove bulk and create texture in the hair. These can be helpful for managing thick hair or adding a lived-in, textured look to long hair. However, beginners should avoid thinning shears initially. Mastering basic cutting techniques with regular scissors is important before venturing into texturizing. You can always add thinning shears to your toolkit later on in your DIY haircutting journey.
Additional Tools (Optional):
-
For more advanced cutting techniques or specific styles, you might consider additional tools like a haircutting cape to catch hair clippings, a haircutting level to ensure a perfectly even cut, or a styling brush for blow-drying or shaping your hair after the cut.
Know Your Hair: Understanding Hair Types and Textures
Understanding your hair type and texture is crucial for choosing the right cutting technique. Here’s a quick breakdown:
-
Fine Hair: Fine hair is delicate and prone to breakage. Avoid over-thinning and opt for blunt cuts to maintain volume.
-
Thick Hair: Thick hair can handle bolder cuts and layers. Thinning shears can be used to remove bulk and create texture.
-
Straight Hair: Straight hair shows cut lines more prominently. Be extra precise for a clean finish.
-
Wavy or Curly Hair: Wavy and curly hair requires a different approach. Cutting hair slightly longer than desired and diffusing it dry allows the curls to define themselves.
Remember, these are general guidelines. Experiment and find what works best for your specific hair type.
Cutting Techniques for Different Hair Lengths and Styles
Now, let’s explore cutting techniques for various hair lengths and styles:
Trimming Split Ends:
- This is a simple DIY haircut suitable for all hair lengths.
- Section damp hair and identify split ends.
- Hold the hair taut between your fingers and snip off a small amount above the split.
Blunt Cut for Short Hair:
- Comb damp hair straight down.
- Gather hair into a ponytail at the desired length.
- Hold the ponytail taut and snip straight across the ends.
Layering Long Hair:
- Section damp hair horizontally.
- Starting at the bottom section, comb hair forward and hold it taut.
- Angle the scissors slightly downwards and snip small sections diagonally upwards.
- Repeat on all sections, working your way up the head.
Long Layers with Fringe:
- Follow the layering technique for long hair.
- For the fringe, section off a triangular-shaped piece of hair at the front.
- Comb the fringe forward and hold it taut between your fingers.
- Gradually snip small sections at an angle to create a wispy fringe.
Remember, these are basic techniques. You can adjust them to achieve your desired style.
Pro Tips for a Flawless DIY Haircut Experience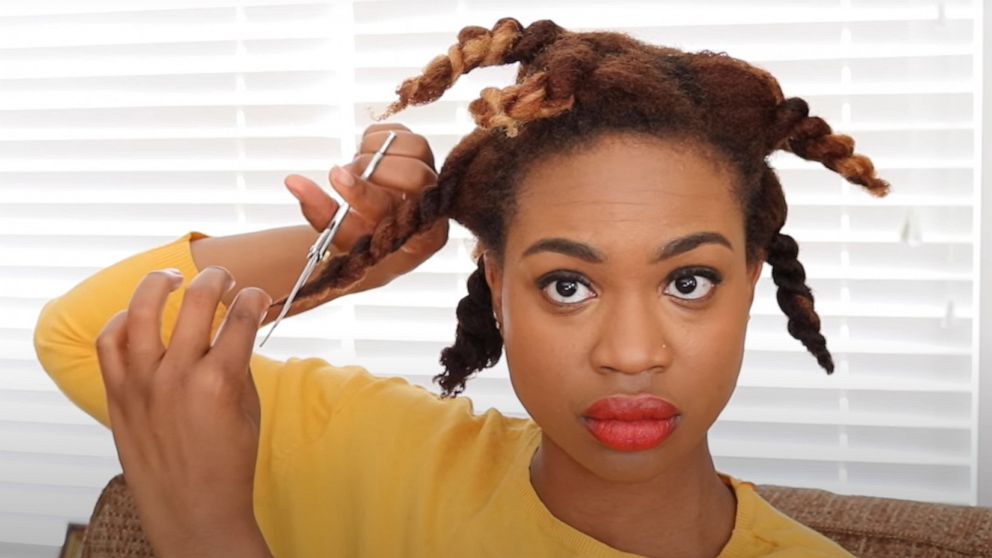
Here are some additional tips to ensure a successful DIY haircut:
-
Start Conservatively: Always err on the side of caution and cut less hair than you think you need. You can always trim more later, but you can’t add hair back.
-
Work in Sections: Sectioning hair makes the cutting process more manageable and helps maintain control.
-
Cut Hair Slightly Damp: Damp hair is easier to cut and manipulate than dry hair.
-
Take Breaks: Take breaks to assess your progress and avoid fatigue, which can lead to mistakes.
-
Cut at an Angle: Cutting hair at a slight angle helps soften the cut line and create a more natural look.
-
Diffuse Curly Hair: For curly hair, cut hair slightly longer than desired and diffuse it dry to see the final shape of your curls.
-
Clean Up: After cutting, use a comb to remove any stray hairs and clean up your neckline with the scissors or clippers.
Don’t be afraid to experiment! The beauty of DIY haircuts lies in customization. Find what works for you
Leave a Reply